

I collected a bag (about 1/2 to 3/4 of a gallon bag) of acorns. Be mindful that AS SOON as you collect your acorns you need to roast them for 10 to 15 minutes at 350 degrees. My first bag of acorns that I collected I let sit and after a while they started looking bad and so we had to throw them out. By the time I had time to collect another bag of acorns, it was late fall and the acorns were weak and kept splitting... So word to the wise, collect your acorns early in the fall and be sure to roast them as soon as you are done collecting!
 From there I hot glued them onto a straw wreath much like the one from made. I did not need a large wreath because of where I wanted to put it, but Michael's (or Hobby Lobby) sells all sizes if you want to make a bigger one. Just remember that with a bigger wreath, you have more area to cover, so you are going to need to collect more acorns.
 Don't worry about hot your gluing acorns on the back of the wreath because once its hung up, no one will see the back. Plus you want the back to be nice and flat, just try to put the acorns as close to back as you can.
I then decided to spray paint my wreath because the acorns were more on the grayish tone... But if you do like the natural look, feel free to leave your acorns just the way they are! I picked up this guy from Michael's:

I wanted a nice solid brown coat that looked natural enough but also made all the acorns and the wreath look the same. I had first purchased one of the small cans of spray paint, but that lasted me about 3/4 of a first coat, so I had to make another trip to Michael's. So to save yourself the second trip, unless you're like me and could just LIVE in Michael's, I would buy the big can of spray paint. Oh and one more thing, it stinks! I spray painted my wreath in our garage, not heeding the bottle's directions of doing it outside, and our garage smelled like sharpie all day. But despite my minor set backs with the spray paint, think it turned out GREAT!
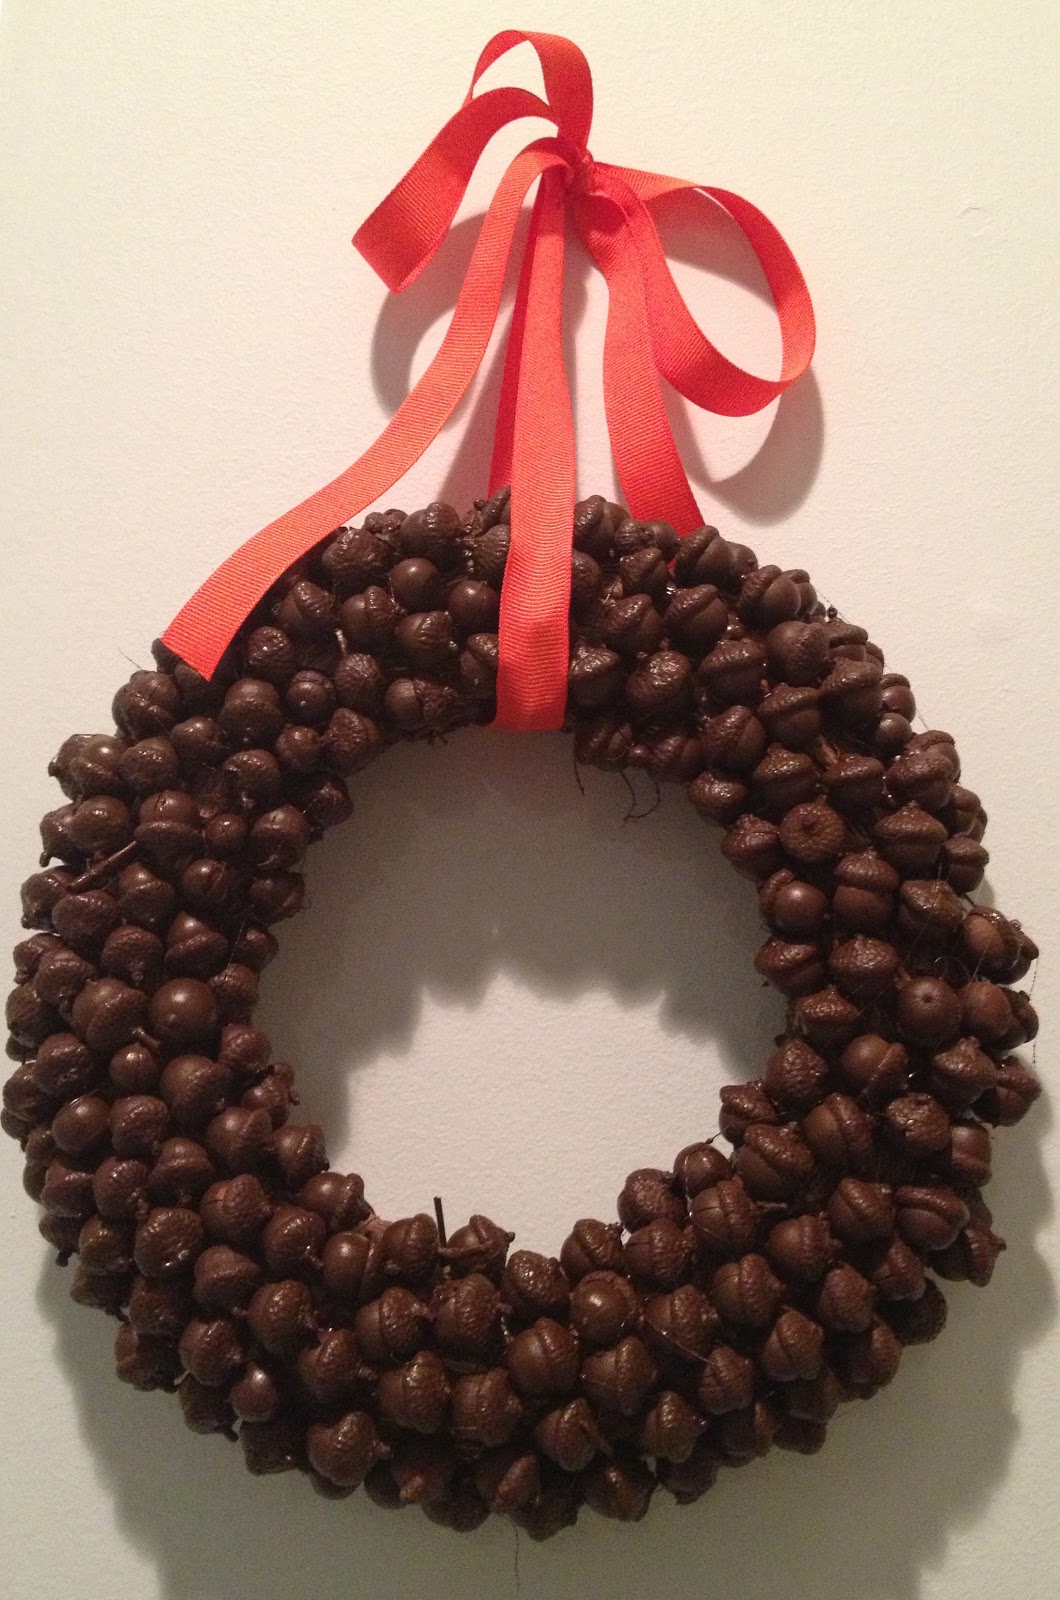
And then for the finishing touch, I added a cute orange ribbon to give it more a "falley" look! I actually think that I want to keep the wreath in my room all year :) I hope you all enjoyed this tutorial and might want to try it out soon! It really does work for any season cause you can always change the color scheme of the wreath or the materials that you used with it, check out the made tutorial to see what other things she used in her wreaths!

Hope you all are having a great week!
Bella
No comments:
Post a Comment