
Well before she left, I made her a little pouch to hold her trinkets and a letter for her! For her pouch, I followed this tutorial from Sweet Verbena. I actually used two swatches of fabric AND a a piece of felt. Each was 6 1/2 by 6 1/2 in.
In Katy's tutorial she uses a piece of felt and one swatch of fabric. She places the fabric right side out on the felt, like so:


Now like the tutorial,I quilted my oreo of fabric, simply by sewing straight lines down the fabric. This is where you have "poetic license"- you can quilt in any direction/ style/ or not quilt at all.

I then followed Katy's tutorials on how to add a zipper to the bag:
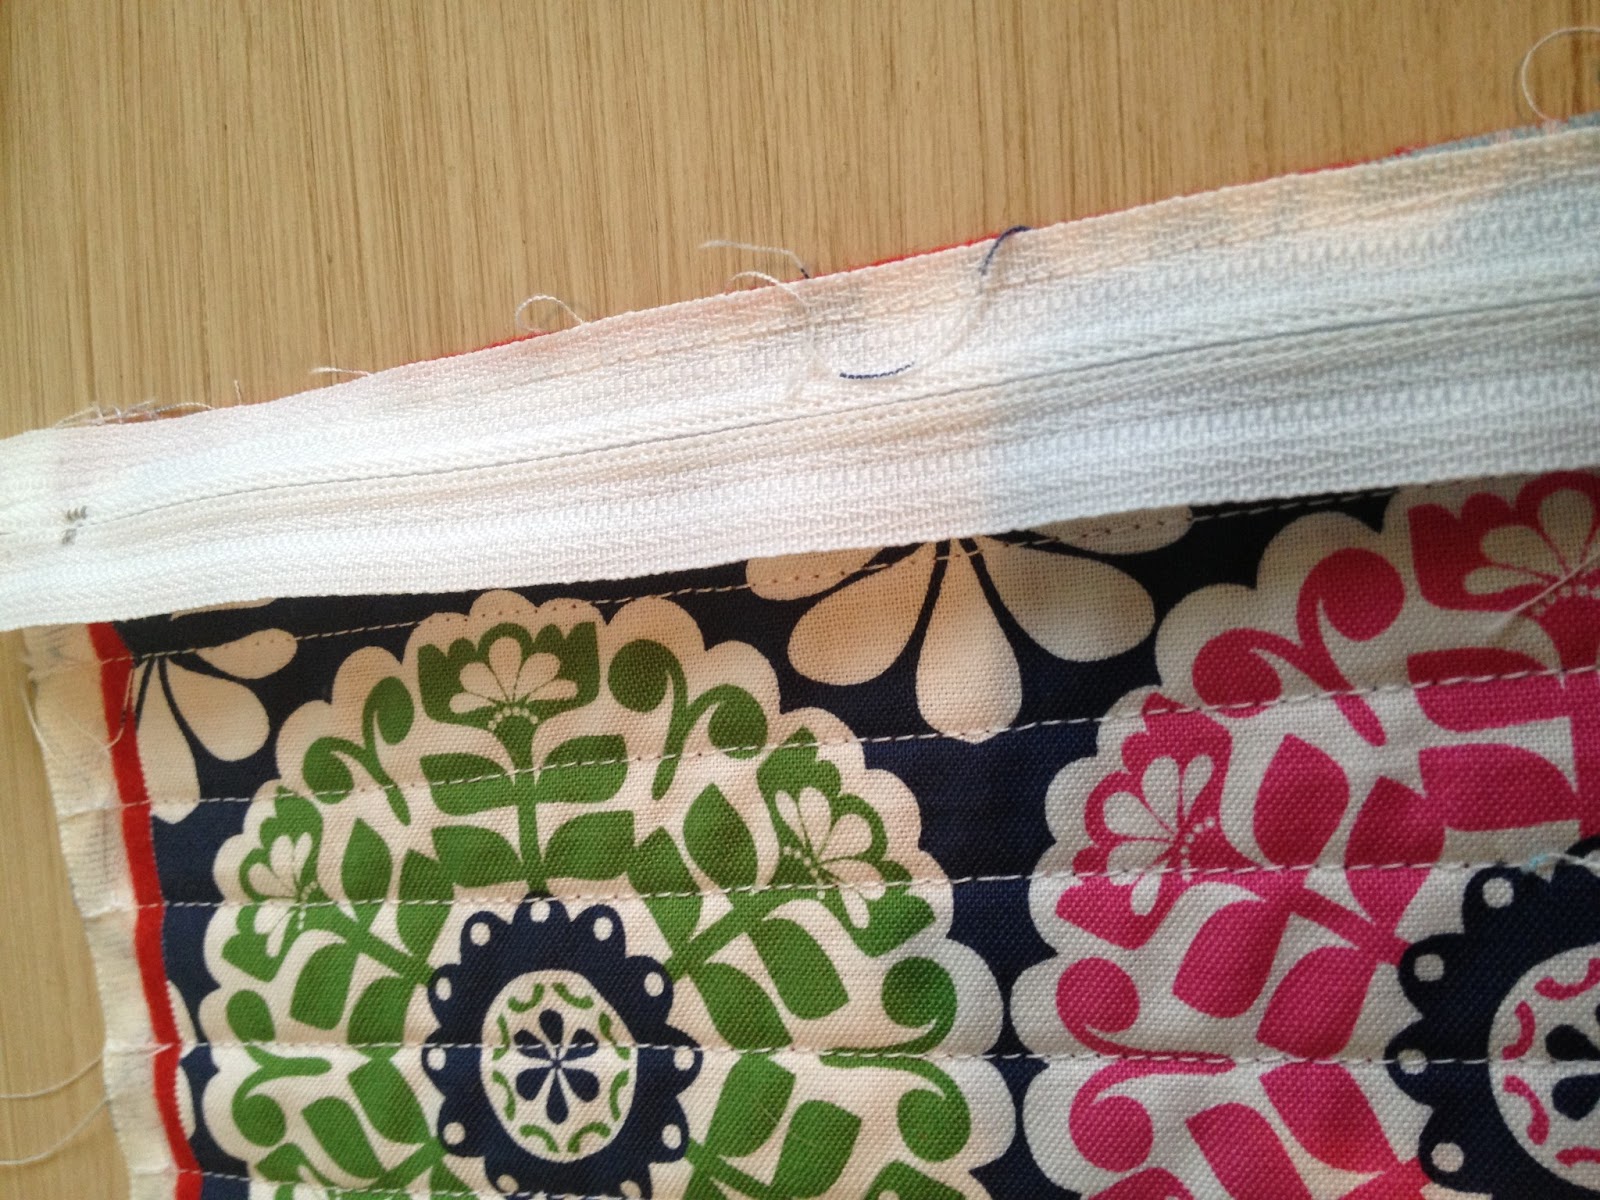
My biggest mistake when it came to this step was I added the second square of fabrics on the same side of the zipper as I did the other. No bueno... So be mindful that one side- the right side (side with flowers)- will line up with one inside side of the zipper and the other square of fabric's right side will line up with the other inside side of the zipper.

Your fabrics should come out looking like this:

Now flip the fabrics back over so you see their back sides, for me it was the typewriter sides. Put the two ends on top of each other so that it looks like this:

Now stich along the bottom, but not on the sides. That was my other problem- I stitched all around and then wondered why it didn't look like Katy's example... Haha and then I had to pull out all those stitches...
Push down on the zipper so that the pouch looks like this:

Now stitch along the sides that are still open( the same vertical line where the zipper ends meet the fabric) and snip any extra of the zipper. Flip this bad boy inside out and voila!

Now fill it up with small lipsticks, post it notes, paper clips... Whatever your heart desires!
*Side Note: If you want, you can also always add a little charm to the end of your zipper. I added a little key charm to Juli's bag just for some fun!*

No comments:
Post a Comment